Shepley Capital

WALLETS & SECURITY

Wallets and Security - Product Image

BitBox Wallet Setup Guide

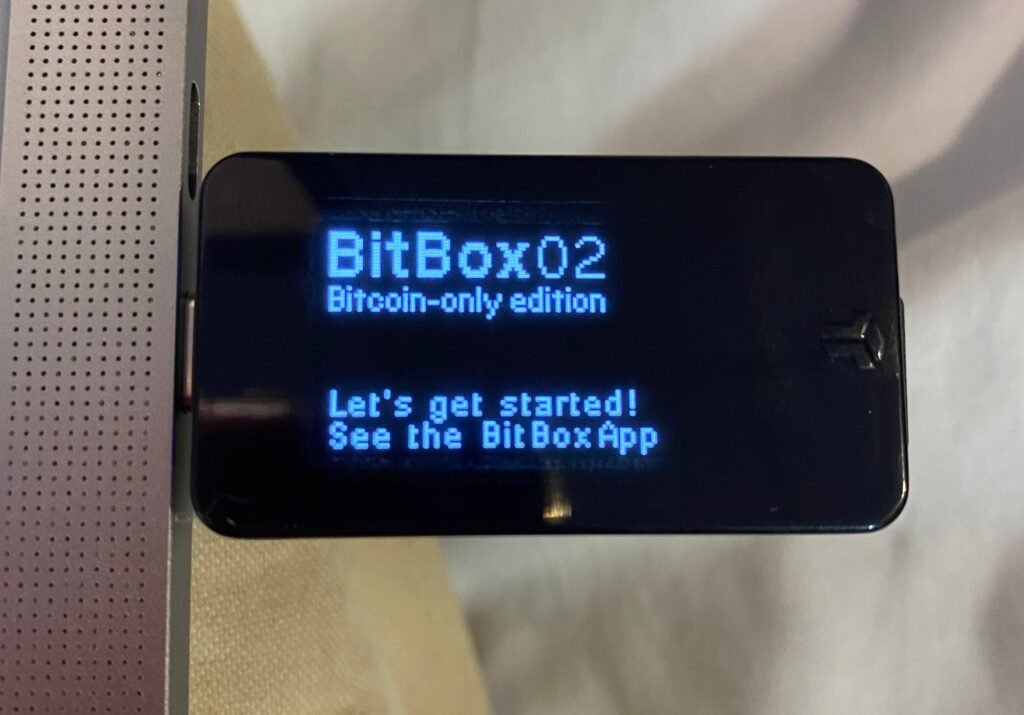
This is your complete BitBox Wallet setup guide – From Pre Unboxing Checks to Full Activation.

Shepley Capital is in no way affiliated with BitBox. Be sure to select the cryptocurrency wallet that is right for you.

1. Before You Unbox Your BitBox

Buy from an authorised source
Only purchase directly from Shift Crypto or a certified reseller. This removes the risk of tampered hardware.

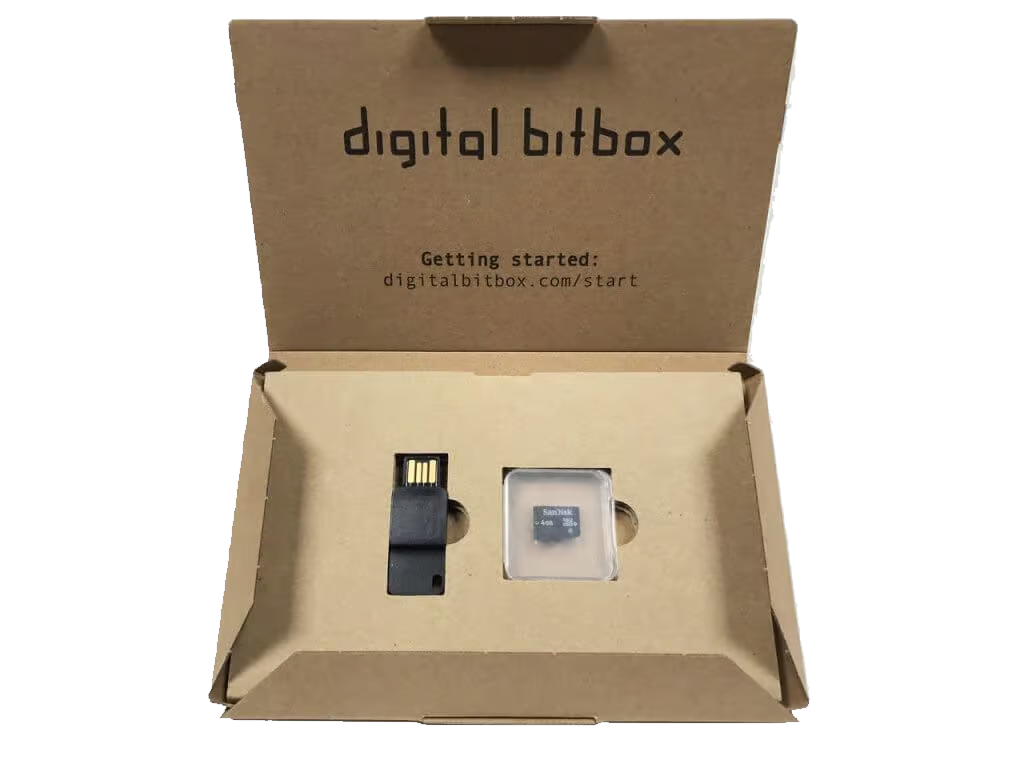
Inspect the packaging

The BitBox02 uses a tamper evident, sealed box with no shrink wrap. Look for:

  • Clean, sealed edges
  • No unusual glue marks
  • No signs of the box being opened or pressed in

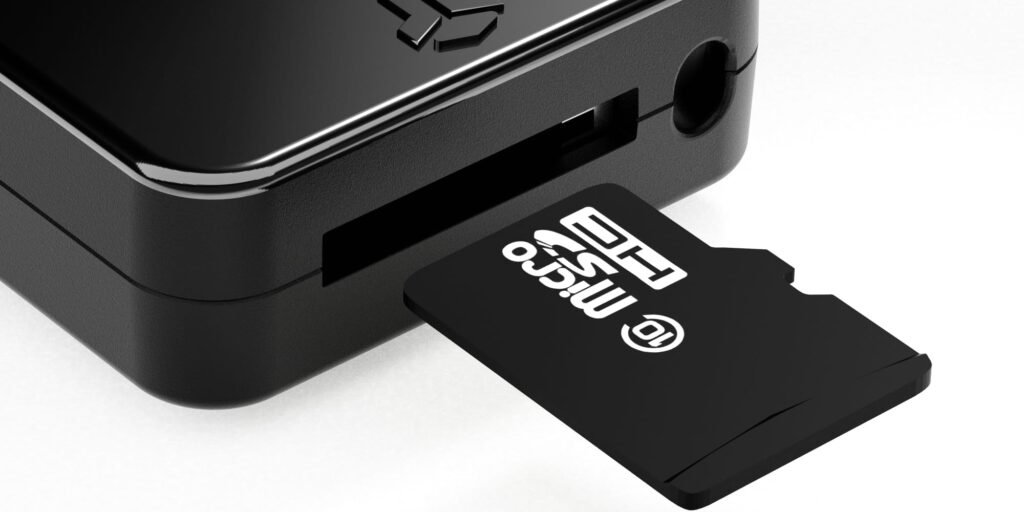
Confirm you received the microSD card
BitBox02 uses a microSD card for its backup system. It should be included and sealed. If missing, do not proceed.

Make sure you have a safe, private setup environment
No cameras, no people watching, no distractions. Your backup phrase and wallet PIN must be created in private.

2. Unboxing Your BitBox

Inside you’ll find:

  • BitBox02 hardware wallet
  • USB C extension cable
  • MicroSD card
  • Documentation and quick start guide

Remove everything carefully, but keep the box in case you ever need product proof or warranty claims.

3. Launching Your BitBox

Download the BitBoxApp

  • Go to the official website only.
  • Install for Windows, macOS, or Linux.
  • This app handles firmware updates, wallet creation and sending or receiving crypto.


Plug in the BitBox02

  • Use the included USB C cable if your computer does not have a USB C port.
  • The screen on the device should light up immediately. If it doesn’t, unplug and try a different port.

3. Create a New Wallet

When the app detects your device, select Create New Wallet.

You’ll then be asked to:

Set your device password

  • This password encrypts access to the device. Choose something unique, long, and private.
  • Do not reuse a password from anywhere else.


Confirm the creation on the BitBox02 itself

  • The touch sensors on the sides let you confirm actions securely.

4. Create Your Wallet Backup

The BitBox02 uses the microSD card as a secure, offline backup.

Insert the card when prompted.
The device will automatically create an encrypted backup file.

Important:

  • This backup file is your lifeline if you lose or break your device.
  • Store it somewhere physically safe, like a locked drawer or safe.
  • Never store the file on your computer or cloud storage.

You can create additional backups onto more SD cards if you want extra redundancy.

5. Update Wallet Firmware

If the app asks you to update firmware, do it now.

  • This ensures you’re on the latest security version.


Confirm the update on the device.

  • Once installed, the BitBox02 will restart.

6. Add Your Coins

BitBox supports BTC, LTC, ETH, and ERC 20 tokens.

You can enable or disable coins in the app.

  • Pick what you want to manage on this device.


Each coin generates its own wallet internally and uses the same secure backup.

7. Receive Your First Crypto

Select Receive for the asset you want.

  • You’ll see a QR code and wallet address.


Always verify the address on the BitBox02 screen itself.

  • This prevents malware from swapping addresses on your computer.


Send a small test amount first, then send your full transaction once you confirm everything is correct.

8. Secure Your Device and Backup

To finish your setup properly, do these final steps:

Set a device password you never store digitally

  • Write it on paper if needed, but keep it safe.


Make an additional microSD backup

  • Store these backups in different physical locations.


Turn on optional security features

  • Inside the app settings, you can enable:
  • Device lock timeout
  • Expert mode for advanced verification
  • Optional passphrase for added protection

Store the BitBox somewhere safe
Treat it the same way you’d treat cash, gold, or important documents.

Your BitBox is Ready!

Choose your next topic from our Cryptopedia​